Miniature maker
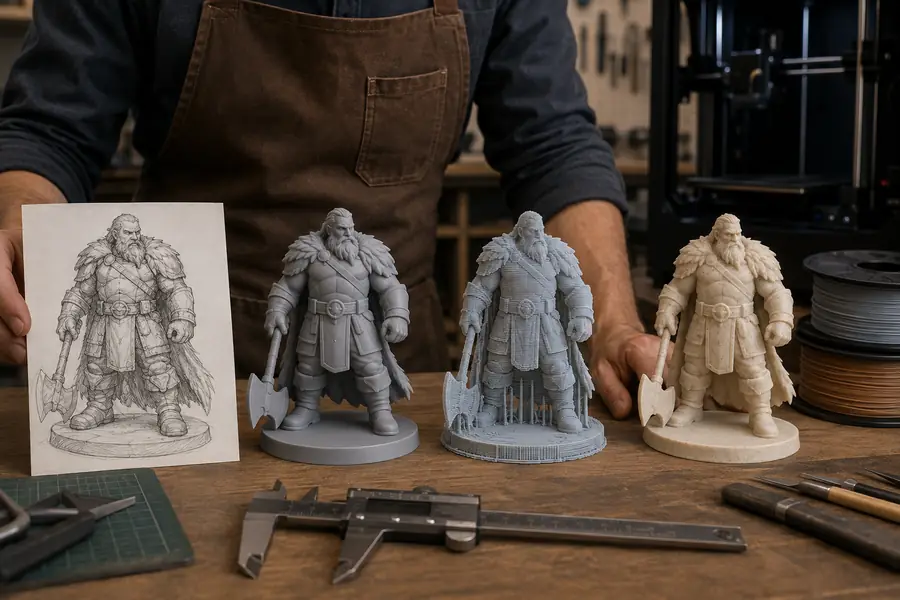
Create a stylized character or creature from a sketch, then inspect the silhouette and thin accessories.
A strong concept mesh that can be simplified, supported, and prepared for resin printing.
3d ai studio examples freePrint-ready modeling
The best ai 3d model generator for 3d printing should help you move from an idea or reference to a clean, inspectable model without hiding the work still needed before fabrication.
A useful 3d ai studio workflow is measured by what reaches the slicer, not only by how attractive the first preview looks.
Different makers need different levels of control, but each use case benefits from a clear source, a defined print goal, and a reviewable result.
Create a stylized character or creature from a sketch, then inspect the silhouette and thin accessories.
A strong concept mesh that can be simplified, supported, and prepared for resin printing.
3d ai studio examples freeTurn a rough product reference into a proportion study before investing time in precise CAD.
A fast physical mockup for checking shape, ergonomics, and presentation at low cost.
image to 3d model freeDescribe a simple object such as a holder, token, ornament, or low-detail prop with plain language.
A manageable first project that teaches export, scaling, supports, and print inspection.
3d ai studio examples for beginnersGenerate a rough prop or creature from a visual direction, then adapt it for a display print.
A tangible reference model that preserves the design intent while exposing geometry issues early.
free text to 3d aiDemonstrate how a concept becomes a physical object through prompt, cleanup, slicing, and test printing.
A repeatable classroom workflow with visible checkpoints instead of a black-box result.
how to use 3d ai studio freeCompare an AI-assisted starting point with a print-oriented workflow so you know what the generated mesh can and cannot replace.
AI-assisted model
Fast concept and shape generation
Print-oriented finish
Reliable object preparation for fabrication
AI-assisted model
May contain uneven density or hidden artifacts
Print-oriented finish
Reviewed for holes, overlaps, and disconnected shells
AI-assisted model
Usually begins without a real-world measurement
Print-oriented finish
Set deliberately in millimeters or the slicer unit system
AI-assisted model
Can be attractive but too thin to survive printing
Print-oriented finish
Thickened, simplified, or removed where necessary
AI-assisted model
Often absent or not optimized for the printer
Print-oriented finish
Added according to orientation, material, and process
AI-assisted model
Excellent for exploring several directions
Print-oriented finish
Slower, but focused on a dependable final result
AI-assisted model
Needs inspection before STL or other handoff
Print-oriented finish
Checked in a mesh repair and slicing workflow
A practical 3d ai studio process keeps the generated asset as a starting point and reserves time for the few fixes that determine whether a print succeeds.
State the object, approximate size, material, printer type, and whether the result is a prototype, miniature, ornament, or display piece.
Create the model, rotate it from every side, and look for open surfaces, floating elements, impossible intersections, and unsupported details.
Clean the mesh, establish a stable base, set scale, choose supports, then export and preview the file in a slicer before printing.
Answers for makers comparing AI generation with the requirements of real-world 3D printing.
It should produce a coherent model that can be inspected, scaled, repaired, and exported for a slicer. The first generation does not need to be perfect, but it should provide useful geometry rather than only a visual render.
Usually, it should be checked before printing. Review the mesh for holes, thin walls, floating pieces, intersecting parts, unstable bases, and details that are smaller than your printer and material can reproduce.
It is better suited to concepts, mockups, decorative objects, characters, and early form studies than to safety-critical or tightly toleranced components. Functional parts still need measurement, CAD refinement, material consideration, and physical testing.
STL is widely supported, while 3MF can preserve additional print information in compatible workflows. Choose the format your slicer handles reliably, then confirm units, orientation, and scale after import.
Simplify the prompt or reference, specify the intended object and print scale, and generate a clearer base form. It can also be faster to keep the AI result as a visual guide and rebuild critical dimensions in a conventional modeling tool.