Project inspiration

See what 3d ai studio examples free can become

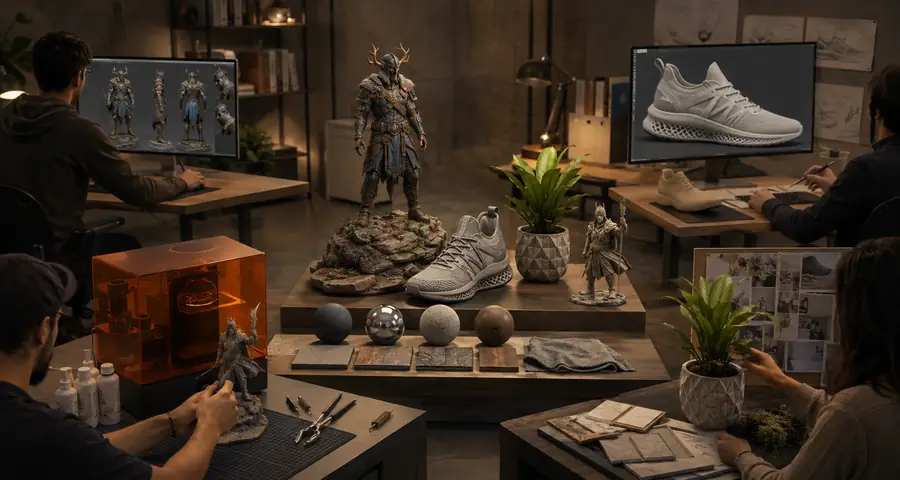
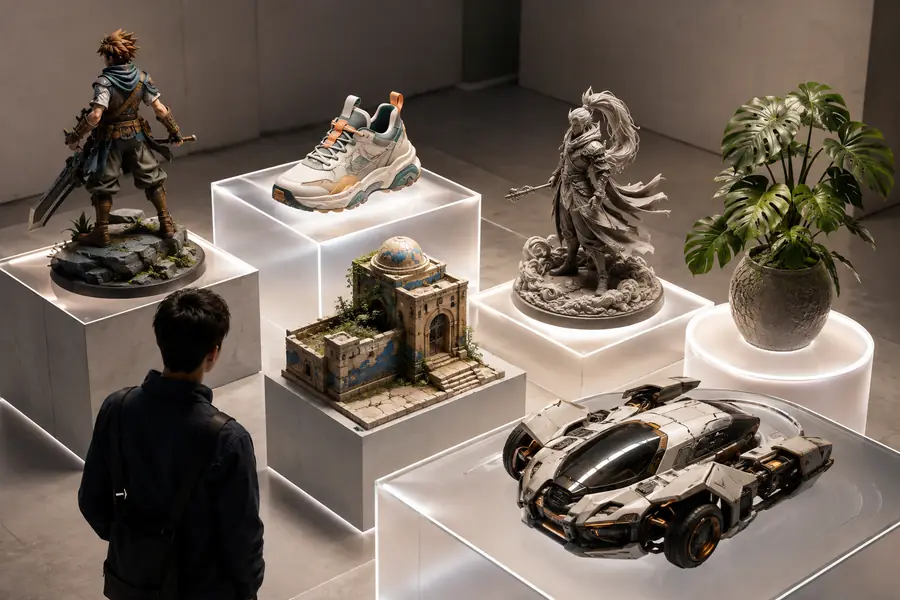
These 3d ai studio examples free show how a rough idea can become a usable character, prop, product mockup, or classroom asset without starting from a blank scene.

6
practical project paths
3
core creation workflows
1
shared review loop
Collection of AI-generated 3D project examples

Use cases

The scenario's pain

Most 3D projects stall before modeling begins: the reference is incomplete, the deadline is short, or the team cannot agree on a visual direction. These examples start with a familiar need and show a clear next step.

Indie game creator

You need a stylized creature or environment prop for a prototype, but detailed modeling would consume the sprint.

Generate a directional asset, test its silhouette in-engine, and reserve manual work for the details that affect play.

free text to 3d ai

Product designer

A product idea exists as sketches, photos, or a moodboard rather than a clean CAD model.

Turn visual references into a reviewable 3D concept that helps stakeholders discuss shape, scale, and materials earlier.

image to 3d model free

Teacher or student

A lesson needs an object students can rotate and inspect, but there is no time to build every asset by hand.

Create accessible study models for presentations, basic scene work, and guided exercises in spatial thinking.

3d ai studio examples for beginners

3D printing hobbyist

You have a visual idea for a figurine, ornament, or display piece but lack the sculpting skills to begin.

Develop a printable concept, inspect its proportions, and refine the mesh before preparing it for fabrication.

best ai 3d model generator for 3d printing

Small creative team

Several people need to explore a campaign, pitch, or short film asset before production resources are committed.

Produce fast visual options, compare directions, and select one concept for cleanup and final production.

ai-generated 3d models from image
Visual transformation

Three concrete workflows

The strongest results come from choosing the input that matches the problem. Start with an image when shape is known, text when the idea is still verbal, or a generated variation when exploration matters most.

Reference input

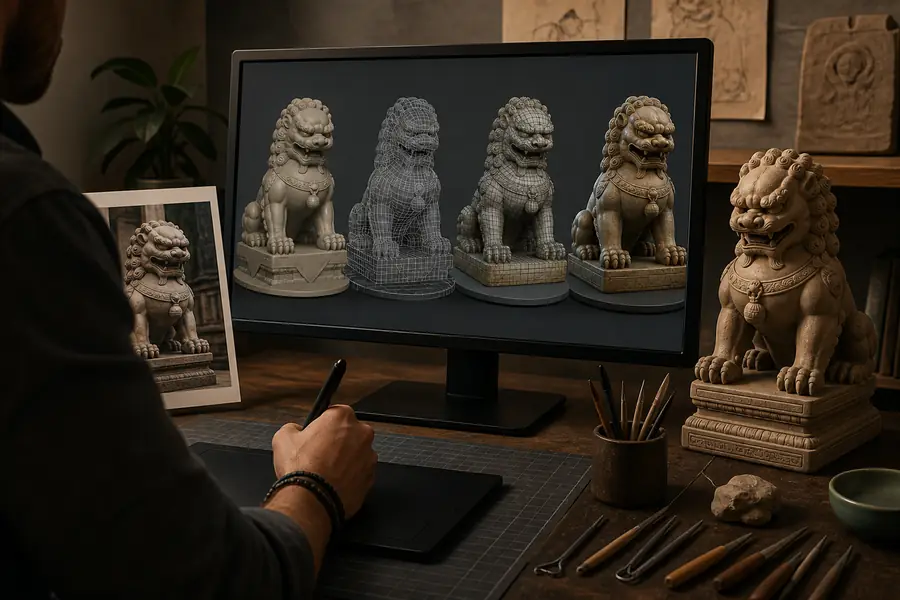
Reference image moving through an image-to-3D workflow
Generated 3D character head based on a visual reference
3D concept output

Before and after are best treated as stages, not promises of a final production asset. Review the form, topology, scale, and materials before using the model in a shipped or manufactured project.

Choose your starting point

Example output

A useful example is not only a finished render. It is a model that answers the next project question: does the silhouette work, does the prop fit the scene, or is the concept ready for refinement?

1

You already have a clear photo, sketch, or front-facing reference

Choose an image-led workflow and use the result as a proportion and silhouette study.

The reference supplies visual constraints, so the generated model can move quickly from idea to review.

2

You can describe the object more easily than you can draw it

Choose a text-led workflow for early concept exploration and variation.

Prompting makes it easy to compare themes, shapes, and styles before committing to a detailed design.

3

You need several directions for a pitch or moodboard

Generate multiple concepts, then select one for cleanup, retopology, texturing, or manual sculpting.

Exploration is faster when the first pass is judged as a design option rather than a finished asset.

Review before release

Compliance notes

AI-generated 3D work still needs human review. Treat every output as a draft until you have checked rights, geometry, materials, scale, and its intended use.

reference, geometry, scale, and usage review
4 checks
concept, refinement, and production handoff
3 stages
person responsible for final approval
1 owner
about licenses, printability, or engine readiness
0 assumptions

A faster creative loop

From first sketch to shared asset

The format has evolved from isolated experiments into a repeatable review process: generate a direction, compare it with the brief, improve what matters, and document the handoff.

  1. Collect the visual brief

    Gather a sketch, photo, written description, style cue, or dimensions. Clear inputs make later decisions easier to explain.

  2. Generate several directions

    Create a small set of candidates rather than overworking the first result. Variety helps reveal which shapes and details support the brief.

  3. Choose the strongest silhouette

    Review the candidates at the size and angle where they will actually be seen, whether that is a game camera, product board, lesson slide, or print preview.

  4. Prepare the model for its role

    Clean geometry, adjust proportions, check materials, and make any engine, presentation, or fabrication changes required by the project.

  5. Record the decision

    Save the chosen asset with its source references, prompt notes, revisions, and approval status so others can continue the work confidently.

Scenario FAQ

Scenario FAQ

Here are practical answers for people evaluating whether an AI-assisted 3D workflow fits their next project.

Yes. Common examples include game characters and props, product concept models, classroom objects, architectural scene studies, marketing visuals, figurines, and assets for virtual or augmented reality. The best first project is usually small enough to review quickly but meaningful enough to test the workflow.

You can explore characters, environmental props, fantasy objects, product concepts, and simple printable forms from text or image references. Outputs are most useful as concept assets, prototypes, or starting points for further modeling rather than automatic replacements for production review.

Not always. Check topology, non-manifold areas, proportions, texture consistency, scale, and file compatibility before using an output in a game, animation, presentation, or print workflow. A short cleanup pass often makes the difference between an interesting result and a dependable asset.

Start with one object that has a clear silhouette and a limited number of materials, such as a low-detail prop, simple character head, ornament, or small environment piece. Define the intended use first, then judge the output against that use instead of judging it only by its render.

That depends on the tool's current terms, the source references, and any third-party material included in the result. Keep a record of your inputs and review the applicable usage rights before publishing, selling, manufacturing, or shipping an asset.