Game designers
Convert a creature, prop, or costume reference into a rough asset for blockouts and scene tests.
Explore silhouettes and proportions before spending time on detailed modeling.
free text to 3d aiImage conversion
Turn a single reference image into a usable 3D starting point. This image to 3d model free workflow is designed for quick exploration, editable assets, and faster concept validation.
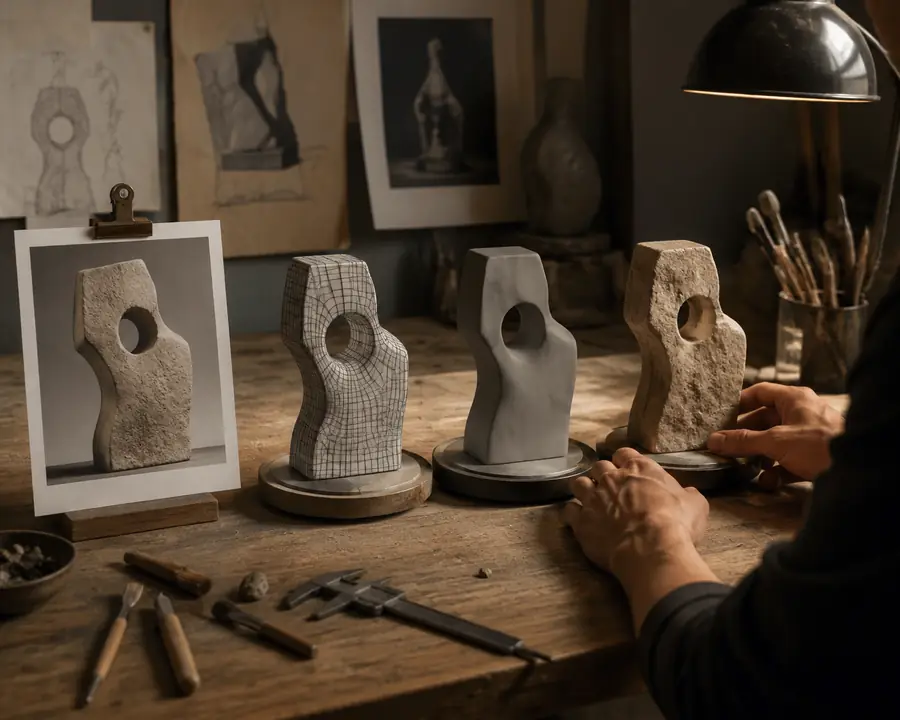
A reference image carries appearance and intent; a 3D model adds volume, surfaces, and a form you can inspect from new angles. The best results come from treating the first output as a draft, not a final mesh.
Convert a creature, prop, or costume reference into a rough asset for blockouts and scene tests.
Explore silhouettes and proportions before spending time on detailed modeling.
free text to 3d aiUse a product photo or sketch to create a spatial concept for review and early presentation.
Share a tangible shape with stakeholders instead of relying on flat reference images.
ai-generated 3d models from imageStart with a familiar object and compare the generated mesh with the original reference.
Learn about volume, topology, scale, and surface detail through an approachable exercise.
free text to 3d aiTurn client references into fast visual studies for pitches, mood boards, or production planning.
Produce more directions in less time while keeping the client’s visual brief visible.
ai-generated 3d models from imageA useful conversion preserves the visual idea while adding enough structure to inspect, edit, and export. This side-by-side view shows what changes between the source and the generated result.
Reference image
Flat two-dimensional view
Generated 3D model
Volumetric form with depth
Reference image
One fixed perspective
Generated 3D model
Rotatable inspection from multiple angles
Reference image
No editable mesh
Generated 3D model
Generated surface geometry for further work
Reference image
Color, lighting, and texture are baked into pixels
Generated 3D model
Surface appearance is interpreted from the reference
Reference image
Usually unknown without a measurement reference
Generated 3D model
Can be normalized and adjusted in a 3D scene
Reference image
Not visible in the source frame
Generated 3D model
Estimated from visible evidence and learned patterns
Reference image
Edited with image tools
Generated 3D model
Refined with 3D, sculpting, or engine tools
The before-and-after view is most useful when you inspect the output as a draft asset. Look for overall shape first, then review small details and hidden surfaces.
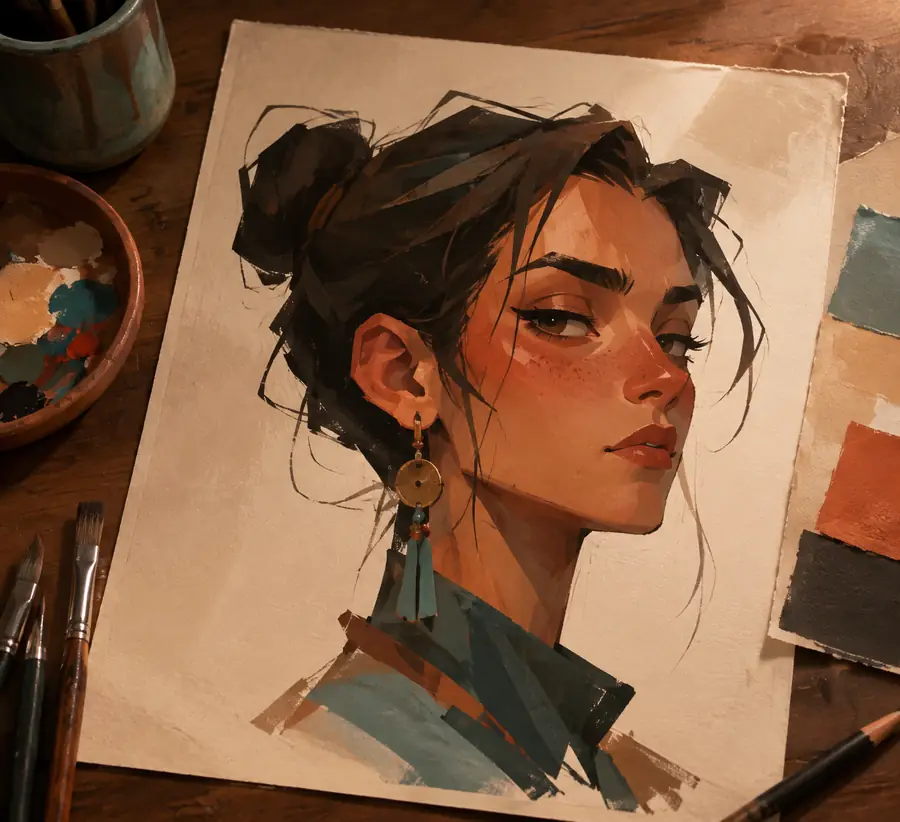
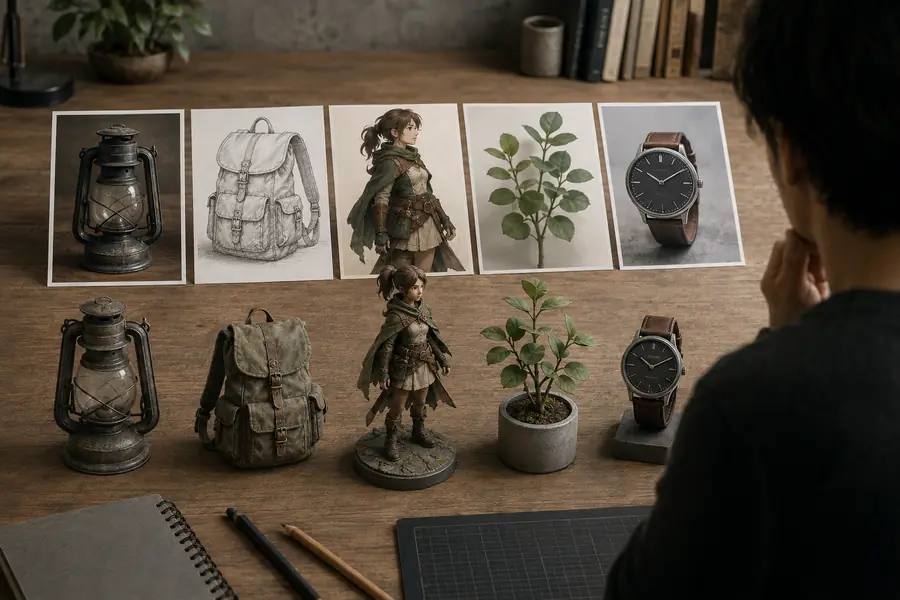
The generated result can capture the dominant silhouette and visual language while still needing cleanup around thin parts, occluded areas, and fine topology.
Choose the route that matches the information you already have. These adjacent pages explain other ways to reach a first 3D asset.
Use the slider as a planning estimate rather than a promise. More complex references usually require more review, but a generated draft can still remove much of the blank-page work.
An AI image conversion is a starting point, not a substitute for every stage of 3D production. Plan a cleanup pass when accuracy, manufacturability, or animation readiness matters.
Backs, undersides, and occluded details are inferred rather than copied from evidence.
WorkaroundSupply additional views or rebuild uncertain areas manually.
The first mesh may contain uneven density, stretched polygons, or topology that is unsuitable for deformation.
WorkaroundRetopologize, simplify, or sculpt the asset for its intended use.
A single image rarely contains enough information to infer exact scale.
WorkaroundAdd a known measurement and verify dimensions in your 3D application.
Handles, cables, fingers, sharp edges, and repeating details can be softened or merged.
WorkaroundUse a clearer reference, separate views, or a targeted modeling pass.
Answers for common questions about turning one image into a usable 3D starting asset.
Yes, a single image can be used to create a first 3D draft. The system estimates depth and hidden surfaces, so the result is best treated as a starting point for inspection and refinement.
Use a clear, well-lit image with the subject separated from the background. A distinct silhouette, visible major surfaces, and limited occlusion generally produce a more coherent model.
It may be useful for blockouts, prototypes, and early scene work, but it is not automatically production-ready. Check topology, scale, materials, rigging needs, and polygon density before final use.
You can use it as a printable starting point after checking that the mesh is closed, scaled correctly, and free from non-manifold areas. Thin features and hidden geometry often need manual repair.
A first result can arrive much faster than manual modeling, but processing time depends on the route and asset complexity. Review and cleanup time should still be included in your project estimate.