Define the subject
Start with one clear object and describe its silhouette, materials, proportions, and intended style. For an image workflow, choose a reference with the subject fully visible and minimal clutter.
Beginner workflow
This practical guide shows how to move from an idea or reference image to a usable 3D asset. Follow the sequence, check the preview, and refine only what needs attention.
Core workflow
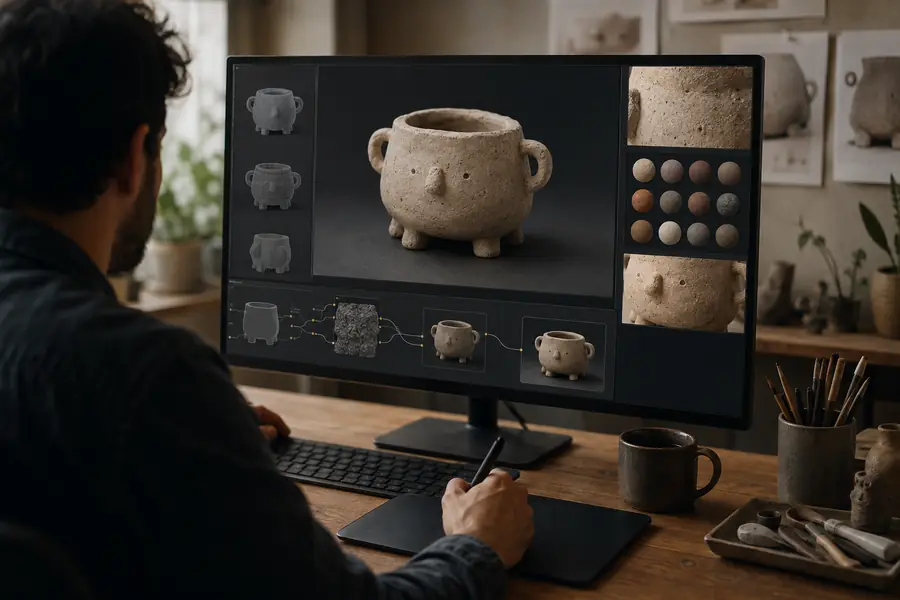
Use a simple repeatable loop: describe or show the object, inspect the generated geometry, then make a focused revision before exporting.
Start with one clear object and describe its silhouette, materials, proportions, and intended style. For an image workflow, choose a reference with the subject fully visible and minimal clutter.
Submit the prompt or image, then rotate the preview from several angles. Check the outline, major forms, openings, thin parts, and whether the model matches the most important visual cues.
Change one issue at a time rather than rewriting everything. When the shape is acceptable, confirm scale, orientation, and file format before downloading the asset for your next tool.
Before you begin
A short preparation pass prevents most disappointing generations. You do not need advanced modeling experience, but you do need a clear subject and a realistic quality target.
Single subjects are easier to interpret than busy scenes or groups of objects.
Use even lighting, visible edges, and a useful camera angle when working from an image.
A game asset, concept blockout, product mockup, and 3D print have different tolerance for detail and topology.
The first result is a starting point; plan to inspect and correct its weakest area.
This is optional for exploration but important before sending the model to a game engine, DCC package, or printer.
Saving successful wording makes later iterations more consistent.
Continue exploring
Use these nearby guides when your project needs a different input method, audience focus, or tutorial depth.
Set expectations
AI-generated geometry is useful for speed, but it is not a substitute for inspection. These limitations are normal and each has a practical next step.
A single image or short prompt does not fully specify the back, underside, or interior. The model may create plausible details that were never visible.
WorkaroundUse multiple references when available, then rotate the output and revise the least reliable side explicitly.
Handles, straps, fingers, wires, foliage, and narrow gaps are easy to merge, thicken, or omit during generation.
WorkaroundDescribe those parts separately, simplify the silhouette, or rebuild delicate details in a conventional modeling tool.
A visually convincing mesh can still contain uneven density, awkward poles, disconnected pieces, or geometry that needs cleanup for animation.
WorkaroundTreat the generated asset as a blockout or base mesh and retopologize, remesh, or manually clean it for production use.
The object can arrive at an unexpected size, with an inconvenient pivot, or facing the wrong direction for your scene.
WorkaroundSet units and transforms in your destination software, then apply a consistent naming and export checklist.
Workflow evolution
The modern 3D generation process combines older modeling habits with faster AI-assisted exploration. Understanding that progression explains why review and cleanup remain essential.
Creators blocked out forms, refined surfaces, unwrapped materials, and prepared exports by hand. The method offered control but made early experimentation slow.
Image references, procedural systems, and scanned assets made it easier to begin from visual information instead of a blank scene.
AI-assisted tools began producing rough objects from text and images, shifting the first stage from modeling every detail to evaluating many possible forms.
The fastest practical workflow is hybrid: generate a useful base, inspect it from every angle, correct the important defects, and finish it for the target medium.
Quality check
A first generation can communicate the idea while still needing focused refinement. Compare the overall silhouette and surface readability before spending time on small details.
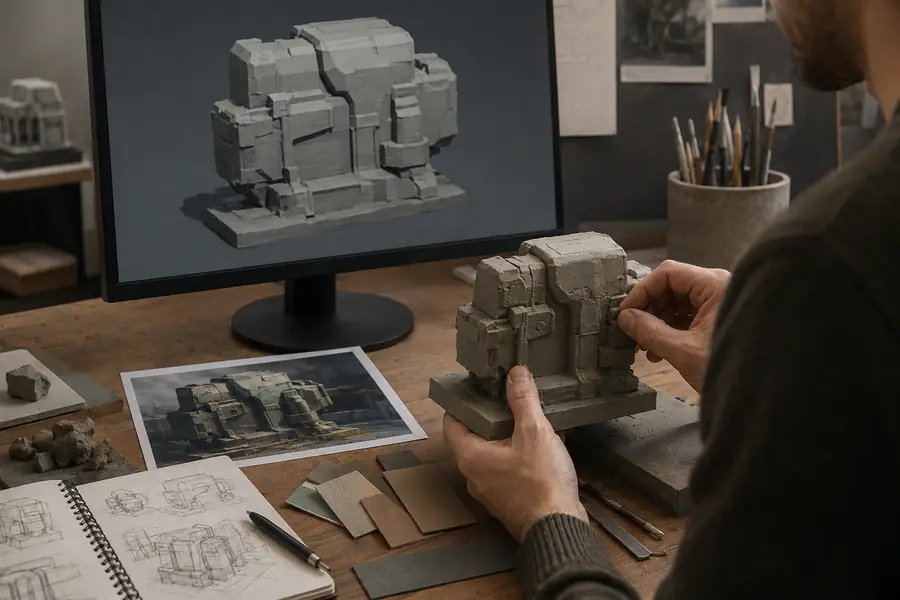
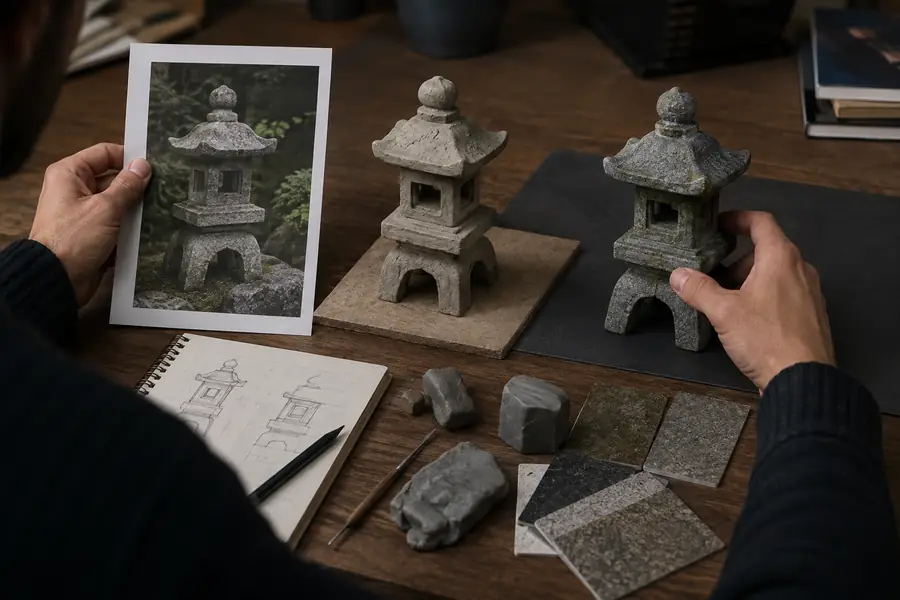
The goal is not to change every part of the model. Identify the one or two defects that matter most to the intended use, revise those, and then repeat the inspection.
Quick answers
These answers cover the main question behind this guide: how to begin using an AI studio without treating the first generated mesh as finished production art.
Begin with either a focused text description or a clear reference image, depending on the creation mode available. Generate a model, inspect it from multiple angles, revise the most important issue, and export only after checking its scale, orientation, and intended use.
Yes. Start with simple single-object prompts and concentrate on silhouette, proportions, and recognizable features rather than technical topology. You can learn the basic loop through experimentation, then use a conventional 3D application when cleanup or animation requires more control.
First identify whether the problem is the subject, shape, missing detail, or camera interpretation. Change one variable at a time: clarify the prompt, improve the reference, simplify the object, or describe a troublesome feature more explicitly before generating again.
It may be suitable for a concept, visual mockup, or early blockout, but it should not be assumed to be production-ready. Rotate it, inspect thin parts and hidden surfaces, verify the mesh in the destination software, and clean or retopologize it when the project demands dependable geometry.
Keep the subject, camera intent, and style language stable while making small revisions. Save prompts that work, use references with similar lighting and framing, and judge every iteration against the final destination rather than against detail alone.